How to Receive Crypto in Coinbase Wallet: 2026 Guide
How to Receive Crypto in Coinbase Wallet: 2026 Guide
CrisCoin 12 min readCoinbase Wallet
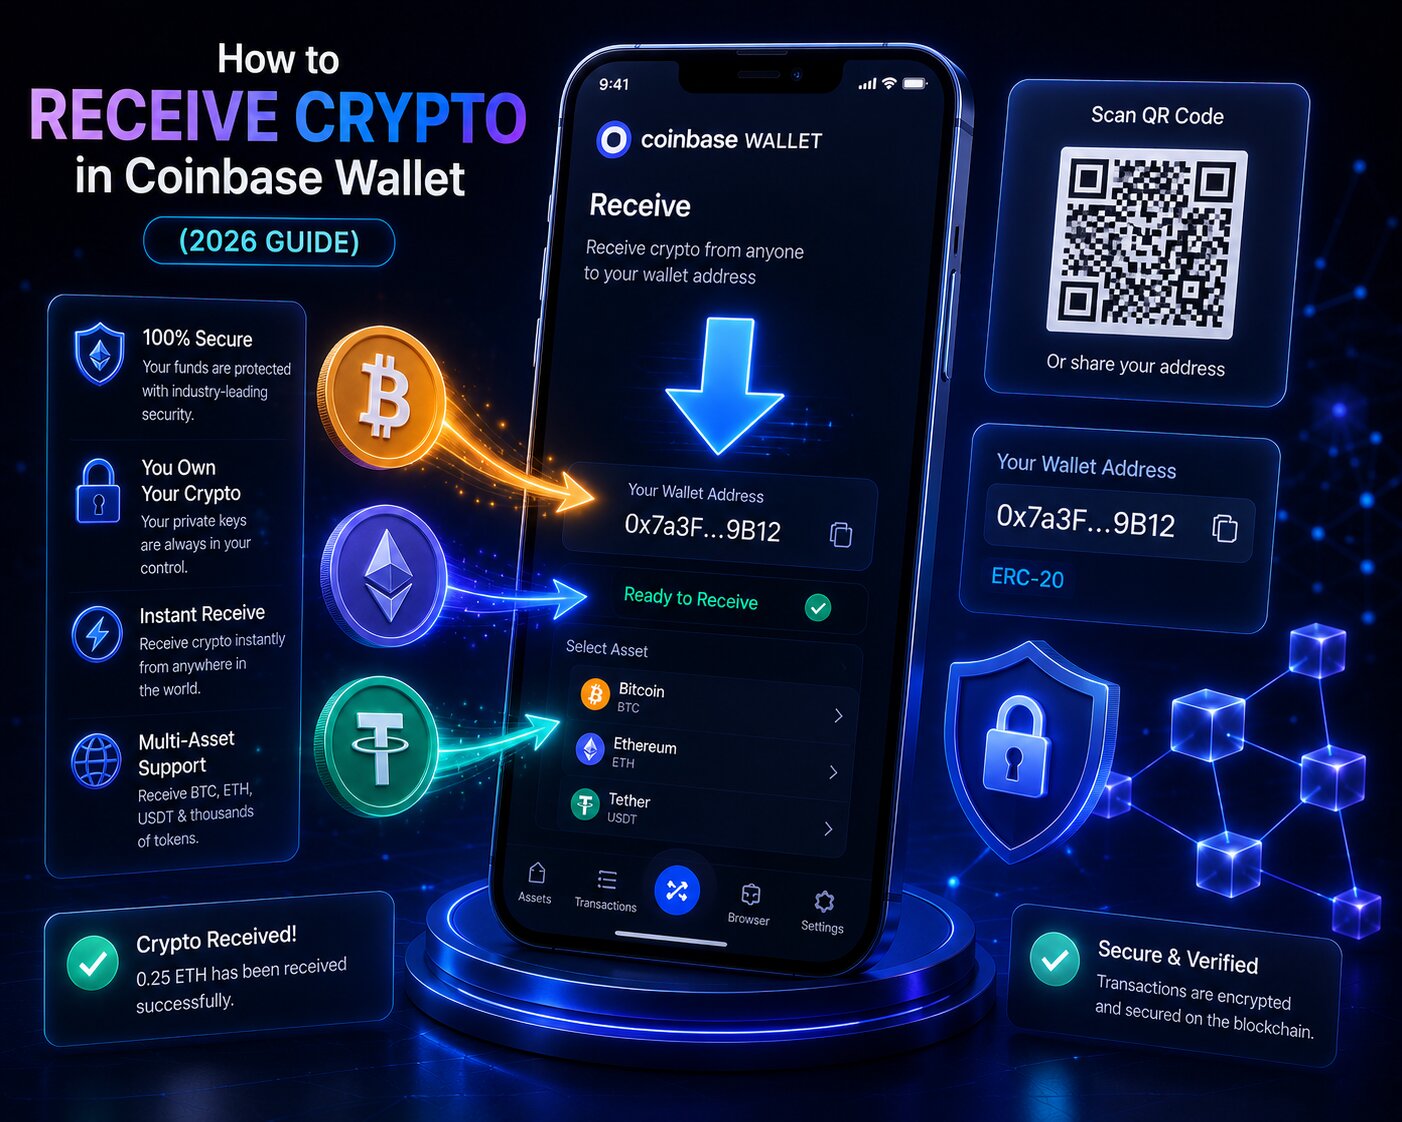
To receive crypto in Coinbase Wallet, open the Receive tab, select the correct Blockchain Network, then share the Public Address or QR Code with the sender.
Coinbase Wallet is self-custodial — private keys stay with the user and no KYC is required to accept inbound transfers.
Receive Method
How It Works
Best For
Public Address
Copy the alphanumeric string — share with sender
Remote wallet-to-wallet transfers
QR Code
Sender scans — no typing required
In-person transfers
cb.id Username
Human-readable handle resolving to the address
Coinbase Wallet-to-Wallet transfers
ENS Address (.eth)
Resolves to the Ethereum address
ETH and ERC-20 receives
Network Selection Is CriticalAn inbound transfer on the wrong Blockchain Network results in permanent loss that neither Coinbase Wallet nor any third party can reverse.
Key Terms for Receiving Crypto
Term
Definition
Public Address
Blockchain identifier that receives incoming crypto — safe to share
Blockchain Network
An independent transaction ledger — Ethereum, Base, Solana are separate
ERC-20 / BEP-20
Token standards for Ethereum and BNB Chain respectively
Gas Fee
Network processing fee paid to validators — not charged by Coinbase Wallet
TxID
Unique identifier for a blockchain transaction — used to track confirmations
Public Address vs cb.id vs ENS
Identifier
Format
Requires Registration
Public Address
0x… (ETH) / bc1… (BTC)
No — auto-generated
cb.id Username
yourname.cb.id
Yes — free claim
ENS Address
yourname.eth
Yes — requires ETH gas
All receive methods deposit to the same underlying wallet — funds arriving via Public Address, cb.id, or ENS appear in the same Coinbase Wallet account.
How to Receive Crypto — Step by Step
1
Open Receive
Tap Receive on the home screen or Payments tab → Receive.
2
Select asset and network
Search the asset — if it exists on multiple networks, confirm the correct one matches what the sender plans to use.
3
Share the address
Copy the Public Address, display the QR Code, or share the cb.id/ENS handle.
4
Wait for confirmation
Funds appear automatically after blockchain confirmation — time varies by network.
USDC, USDT, and Multi-Chain Tokens
Token
Network
Recovery if Wrong
USDC
Ethereum
Permanent loss
USDC
Base
May recover by adding Base network
USDT
Ethereum (ERC-20)
Permanent loss if wrong chain
USDT
Tron (TRC-20)
Permanent loss — different address format
Always confirm the network with the sender before generating and sharing a receive address for any multi-chain token — the wallet address may look identical (0x) across incompatible chains.
Confirmation Times by Network
Blockchain
Typical Confirmation Time
Block Explorer
Bitcoin
10–60 minutes
mempool.space
Ethereum
10 seconds – 5 minutes
Etherscan
Solana
Seconds
Solscan
Base
Seconds
Basescan
Polygon
Seconds – 1 minute
Polygonscan
Verifying a Receive Address Safely
Security Step
Action
Protects Against
Verify characters
Check the copied address matches what’s shown
Clipboard malware substitution
Confirm network
Re-read the network name before sharing
Network mismatch errors
Avoid QR overlay attacks
Only screenshot QR codes from within the app
Fake QR code overlays
Verify on Block Explorer
Paste the address into Etherscan
Phishing address verification
Public Addresses Are Safe to ShareSharing a Public Address, cb.id, or ENS address publicly is safe by design — it grants zero ability to spend or access the wallet balance.
Receiving NFTs
NFTs are received at the same Ethereum Public Address used for ETH and ERC-20 tokens — no separate NFT address is needed. Coinbase Wallet supports ERC-721 and ERC-1155 on Ethereum, Polygon, and Base, plus Solana NFTs, and the gallery populates automatically after blockchain confirmation.
Why Isn’t Received Crypto Showing?
Cause
Fix
Wrong Blockchain Network used
Find the TxID on a Block Explorer → add that network in settings
Insufficient confirmations
Check the TxID and wait for confirmation count
Custom token not in default list
Add manually using the contract address
App needs refresh
Pull down on the home screen to sync
Frequently Asked Questions
Open Coinbase Wallet, tap Receive, select the asset and Blockchain Network, then share the Public Address or QR Code. Funds appear after blockchain confirmation — no KYC is required for inbound transfers.
Tap the QR Code icon at the top-right of the home screen. Select the asset and network — the Public Address and QR Code appear immediately. The Ethereum address works for all EVM-compatible tokens.
Coinbase Wallet supports 10,000+ tokens across Ethereum, Bitcoin, Solana, Base, Polygon, and more. Each blockchain needs its own address — sending on the wrong network results in permanent loss that can’t be reversed.
Check the TxID on the appropriate Block Explorer. If confirmed on the wrong Blockchain Network, add that network in settings. If it’s a custom ERC-20, add it manually via contract address.
Yes. A Public Address, cb.id, or ENS address allows anyone to send funds but grants zero ability to spend or access the wallet. Never share the 12-word recovery phrase — that grants full access.